FPV Racing Quadcopters
I build acrobatic FPV enabled quadcopters for racing and freestyle flight.
Introduction
During the summer of 2015, the summer before my freshmen year at Cal, I decided I wanted to take on a side project. I saw a buddy of mine had built a quadcopter from parts from photos on social media. Upon doing some research I found a large online community of hobbyists and professionals working on opensource hardware and software projects around homebuilt drones. Thousands of hours’ worth of videos and reading material is available on the internet allowing me to muster up enough information to buy parts to put together my first quadcopter running the Cleanflight flight control firmware on an STM F1 based flight controller.
After building my first quadcopter, videos started to surface on the internet of FPV (First Person View) flight. Basically, you mount a small camera and a video transmitter (often 5.8Ghz) on board your drone facing forward. Then you receive the video transmission in a pair of video goggles that you wear while piloting the drone. It feels like you’re flying the drone from the cockpit and it allows for much greater maneuverability in flight. I invested in everything I needed to fly FPV and mounted a camera and video transmitter on my drone that same summer. I had an awesome experience, but as soon as I showed up at Cal and met the students at UAVs@Berkeley who were pursuing the same technology, I was hooked. I’ve built many rigs over the past few years I’ve been involved in the hobby, each increasing in craftsmanship, forethought, and number of custom parts (some of which I share on Thingiverse).
YouTube Channel
Videos online, as is true with most FPV pilots, got me into the hobby. About a year and a half into my involvement in flying FPV quadcopters, I enjoyed the footage that I produced enough to post to my own YouTube channel. Here’s the link, I call the channel “Get Inverted FPV.” Here’s a recent freestyle video:
First Build
This is the only picture I have of that first-ever quadcopter. I didn’t know what I was doing, so I bought this ridiculous frame with inverted rear motors. It’s underpowered, takes up too much space, and the power distribution board was a nonstandard size, so I had to mount above the top plate. It took me about 2 weeks to build and I was pleasantly surprised when it flew.
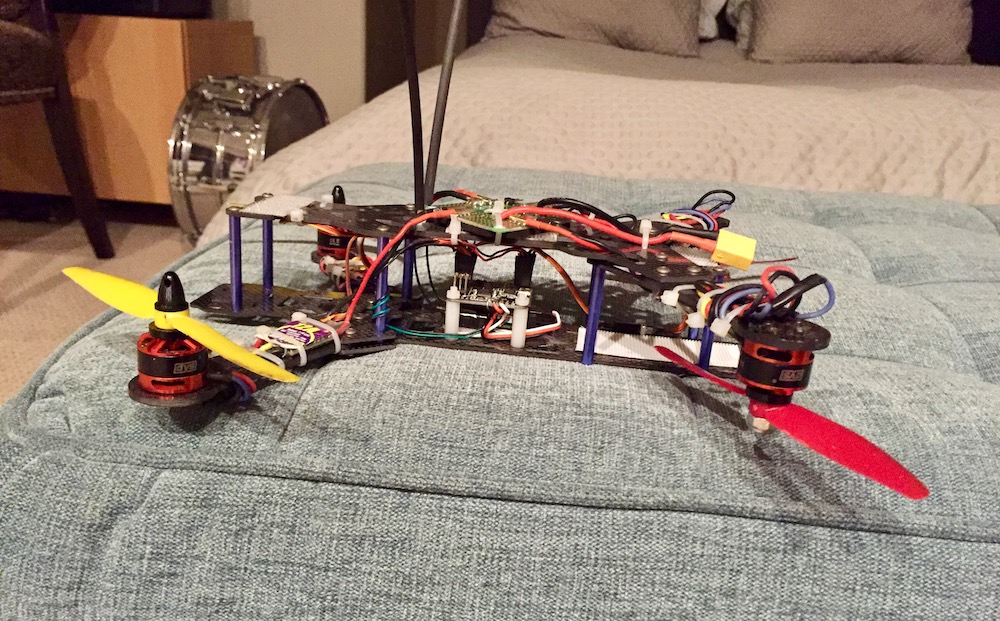
ZMR250 Build
The first quad I built at Cal, in my dorm room. I learned to fly in “rate mode” on this aircraft. Flying in rate mode means the pilot directly controls the angular velocities of the vehicle about each axis, rather than on board software leveling the quadcopter automatically. Transitioning from piloting an off-the-shelf drone (which employs a large sensor array and software stack to stabilize itself) to piloting a custom-built rig in rate mode is akin to stepping out of a Honda Civic and into a Formula One racercar. It’s difficult to learn, and there were many crashes throughout the process, but it allows for full control in acrobatic flight.
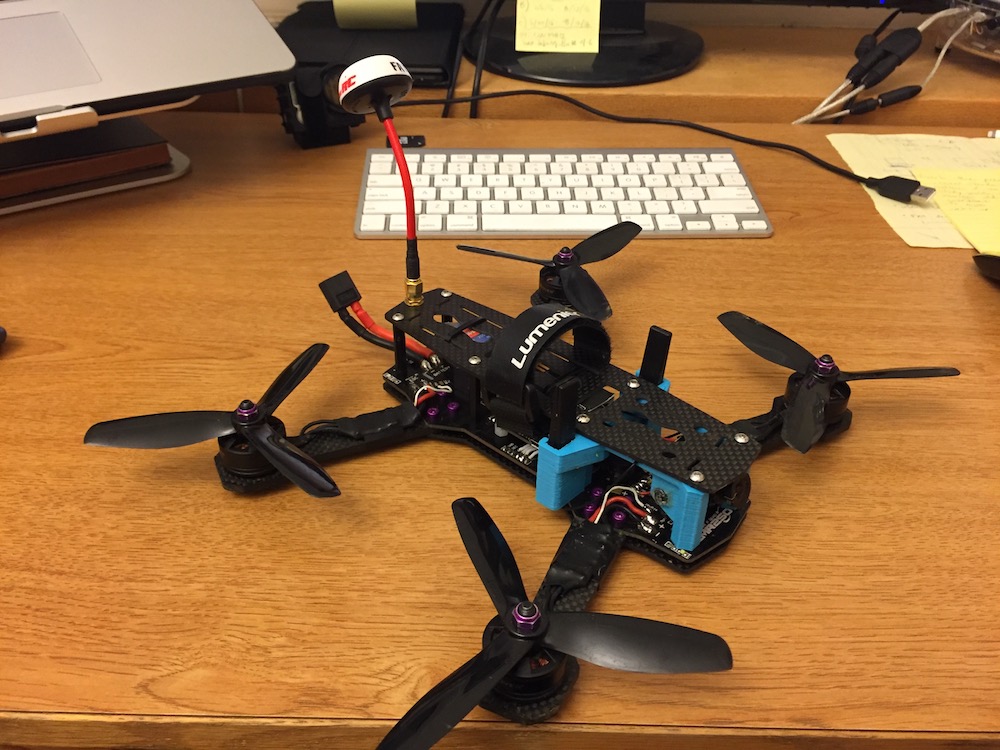
ZMR250 Build V2
The frame is a very similar geometry from the previous build, but this frame has real 3K carbon twill. The build went through many iterations as I experimented with my first custom 3D printed parts (all PLA) for mounting components and cleaning up the build. This thing was continuously evolving, my go-to build for over a year.
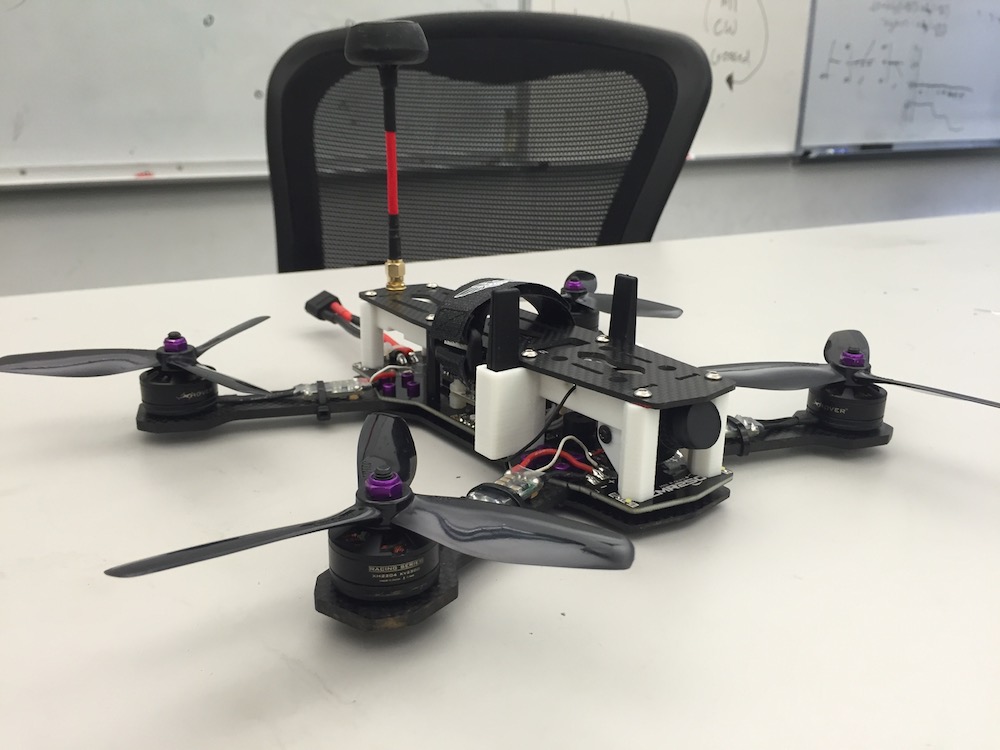
QAV210 Build
I used a knockoff QAV210 Frame for this build. Here I experienced some unwanted gyro noise propagating from the motors, the Chinese carbon wasn’t rigid enough. Although I liked the compact form factor, I quickly retired the frame.

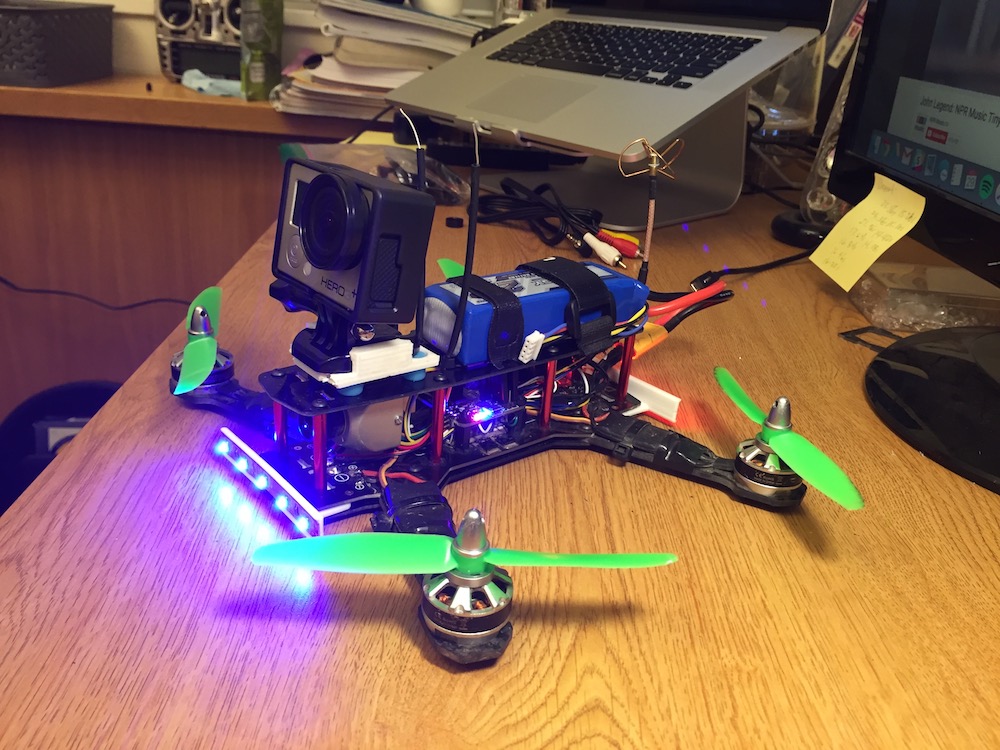
Connex Build
At Drone Worlds Expo in San Jose in the Fall of my sophomore year, I talked to an engineer from Amimon, the manufacturer of a digital video transmitter and receiver. Rather than the analog 5.8Ghz video feed which some suffers from low resolution, noise, etc. this product offers 1080p live video with (supposed) latency on the order of an analog feed. The whole system costs over $1,300, and somehow, I talked myself onto the beta testing list for the product, and they ended up letting me keep it! I was the only beta tester looking to implement this device onto an FPV racing rig, the main demographic was cinematographers. I printed custom mounts for the massive patch antennas. and built everything on a QAV250 with arm extensions and top plate which fits the GoPro in-line with the main body of the frame. The video feed was impressive, but I was so scared of crashing this thing with so much money on board, the build wasn’t nearly as fun to fly.
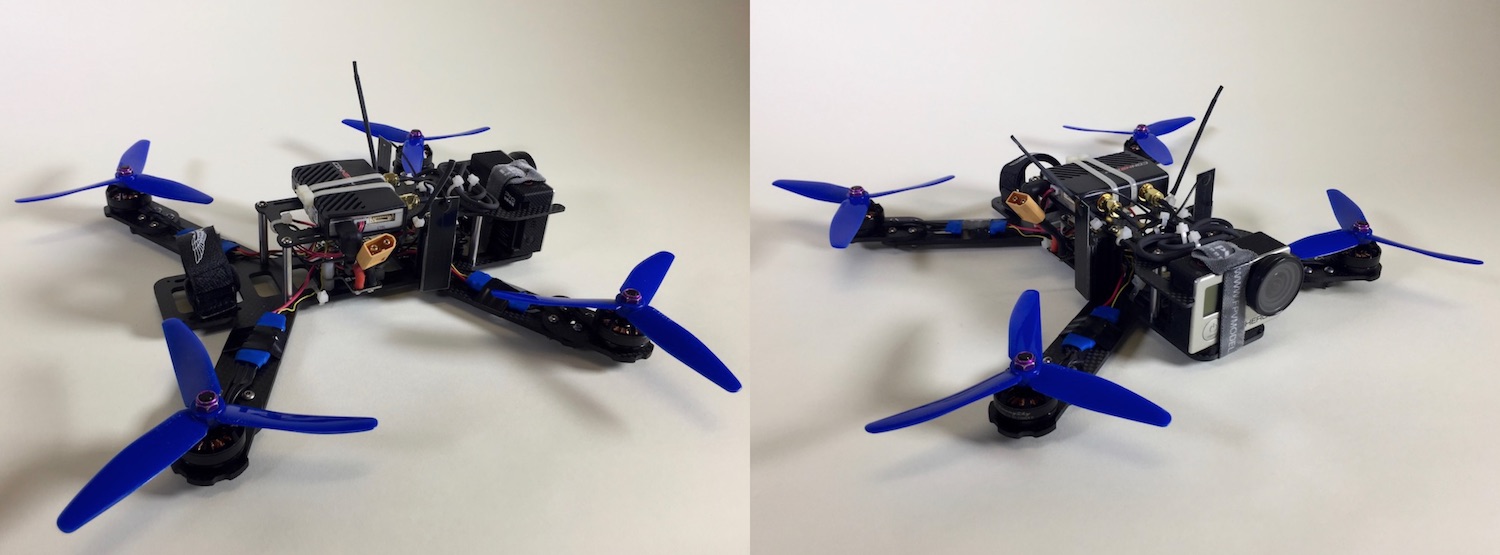
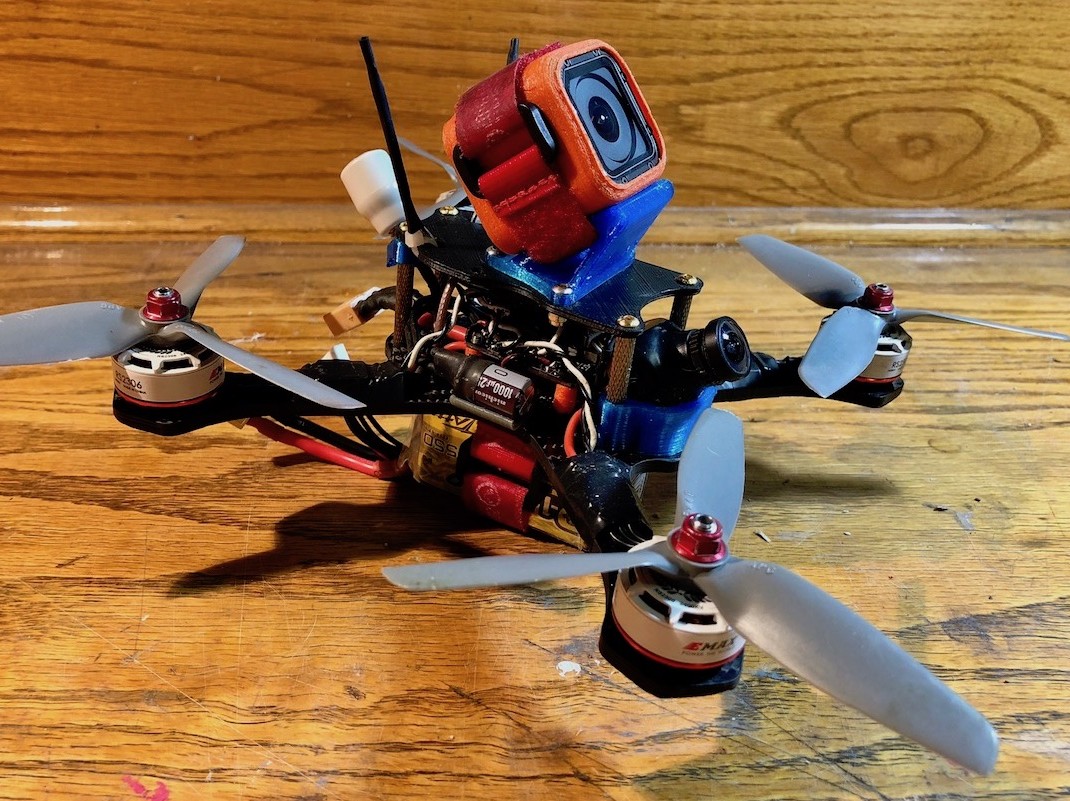
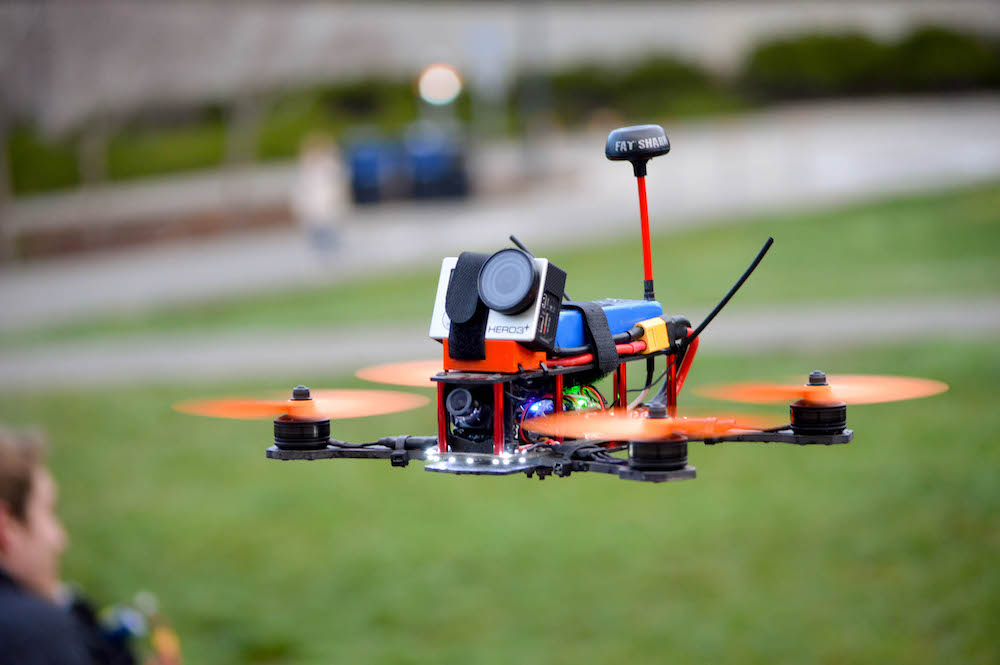
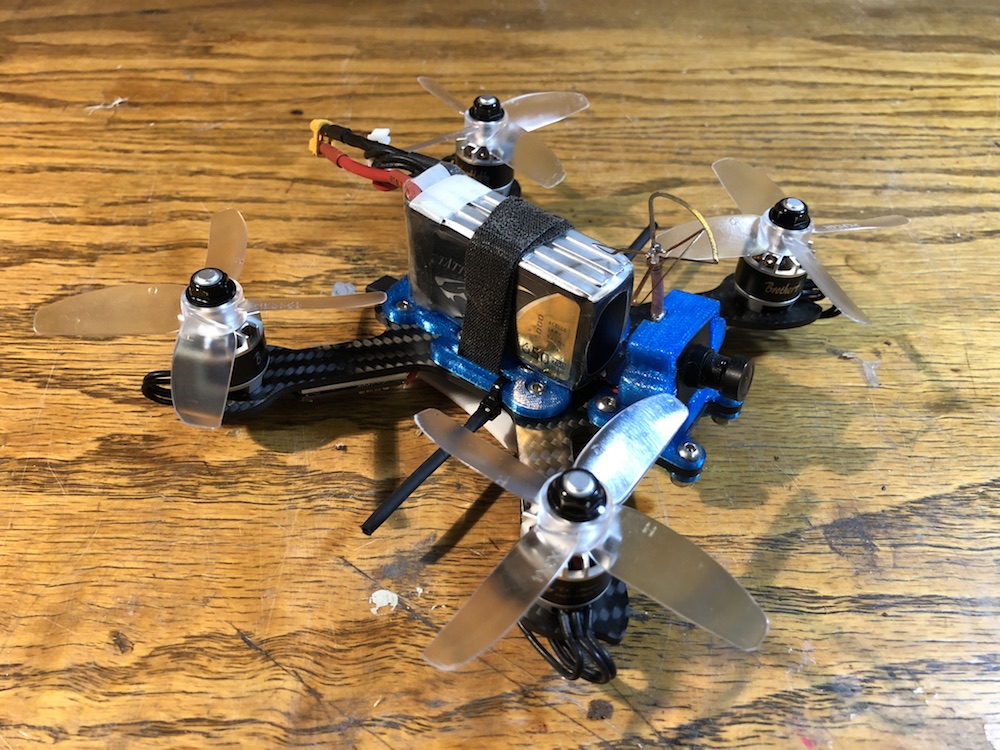
HMB-X5 Build
My main rig for the past year. Carries a GoPro Hero5 Session. A custom top plate, FPV cam mount, GoPro mount, and SMA antenna mount. The antenna mount is printed in flexible TPU so the joint simply bends rather than solder pads being ripped out. It’s the most robust quad I’ve ever built, it’s got loads of power and produces smooth footage. At one point I even had two identical copies.
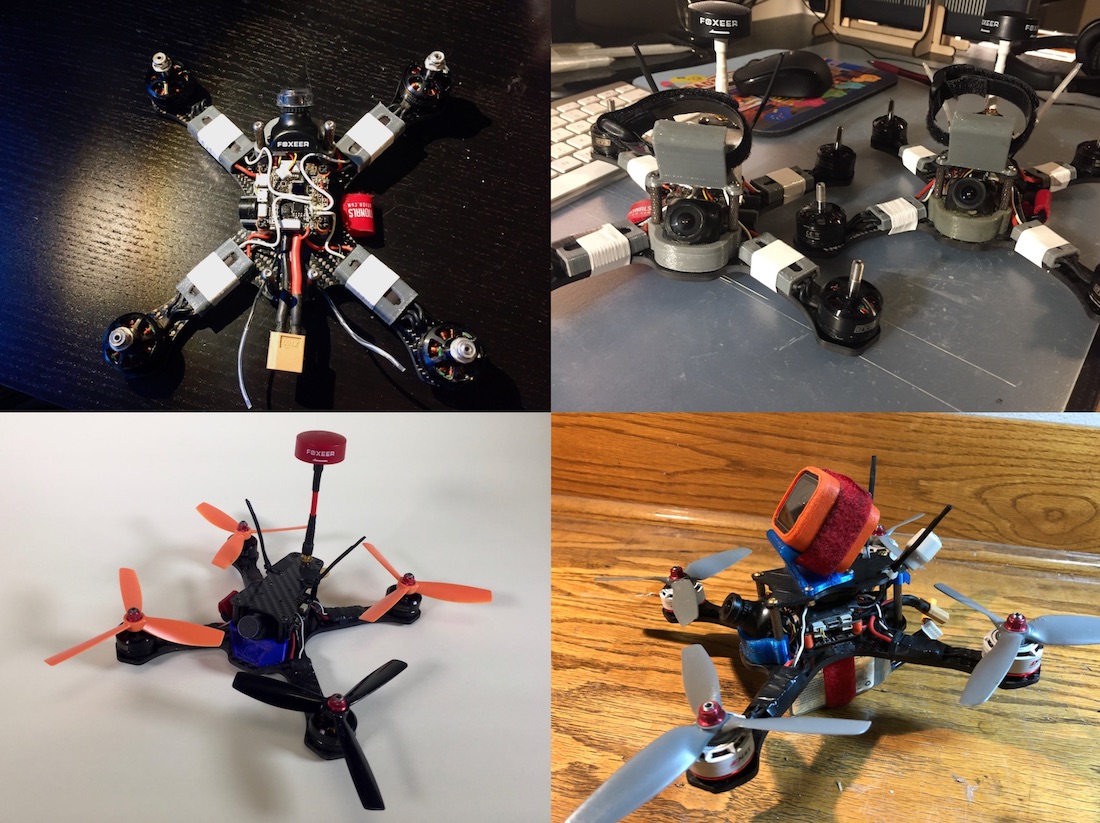
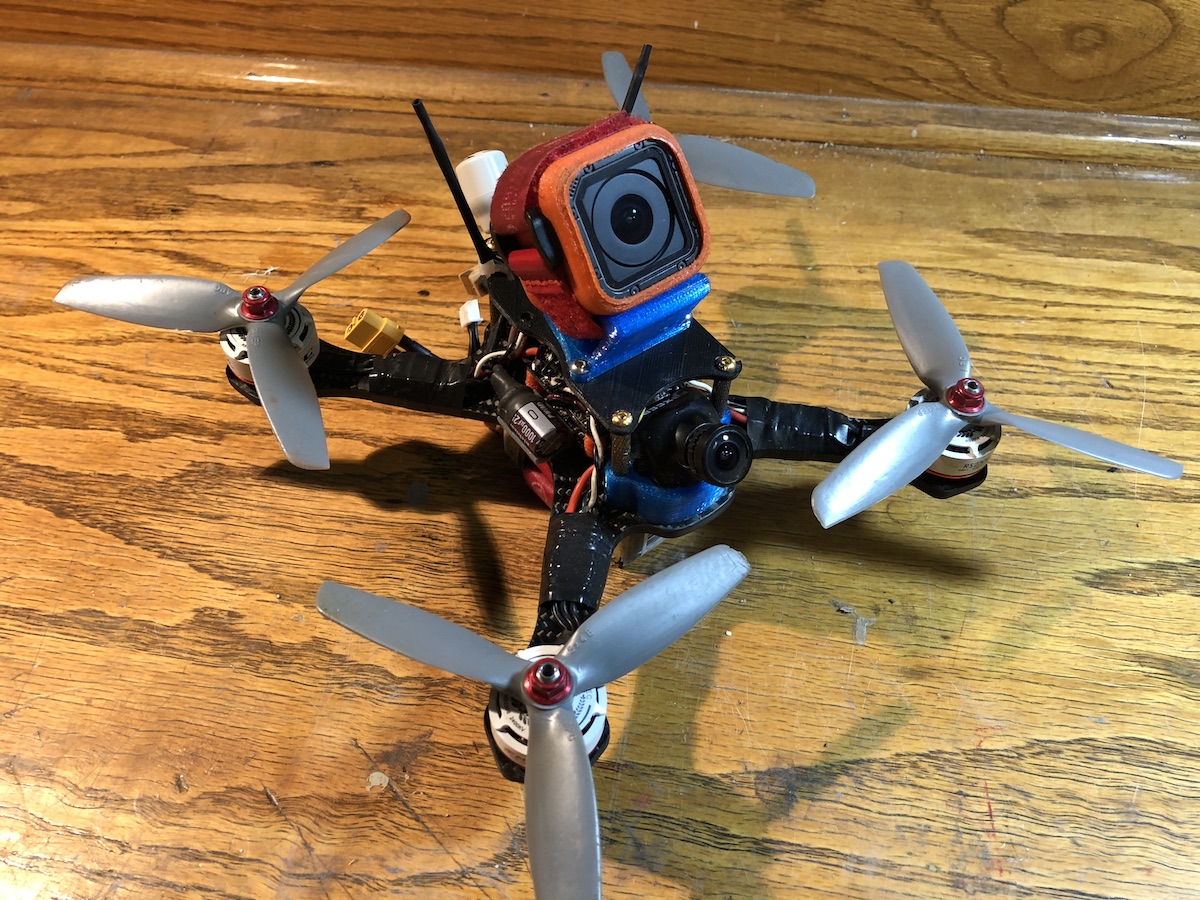
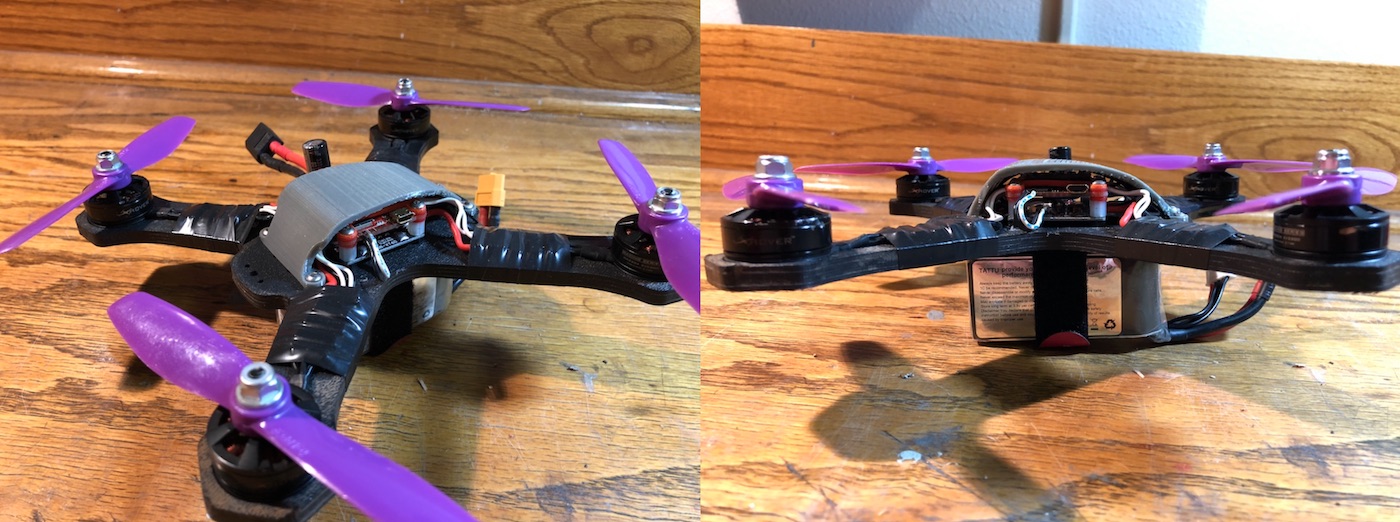
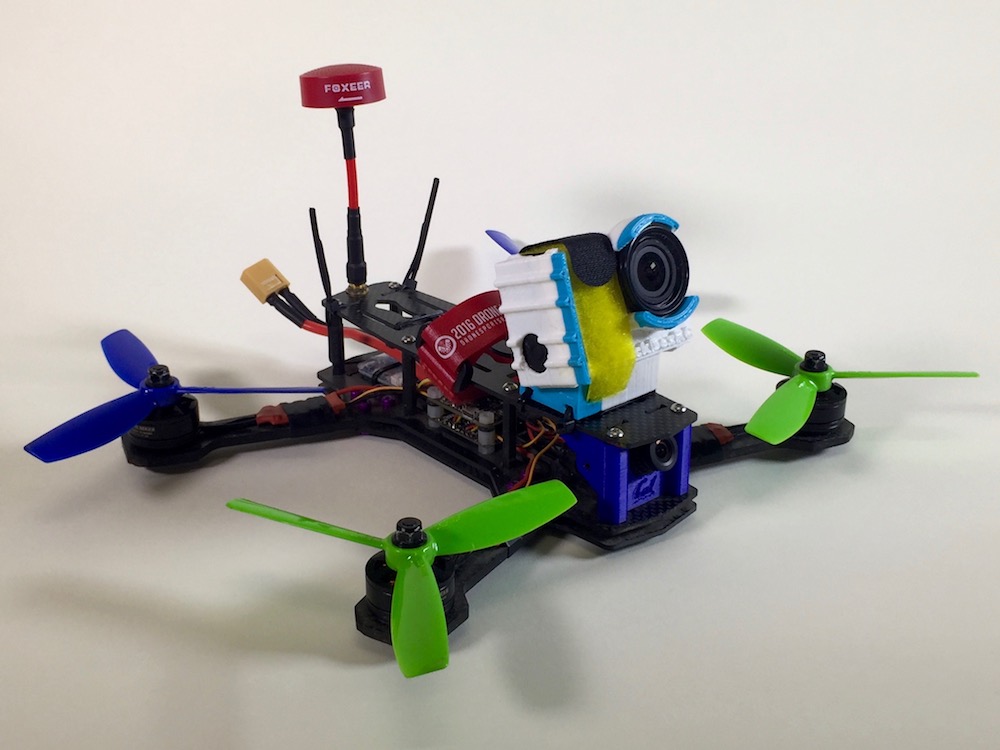
3inch Build
I experimented with a micro setup for the first time here. The main design criterion was to get an all-up weight of less than 250g, so the FAA (and UC Berkeley) considers it a toy. It runs 4S just like all my other racers and its got some kick. The frame is the main plate from an iFlight iX3, and I built it first as an under-slung battery build, then as a low profile top mounted build. I designed the AIO cam mount, the bottom plate, and a battery pad which traces the geometry of the frame and printed them. The bottom plate is PLA and everything else is TPU. Better yet, I traced the frame so it’s all in CAD.
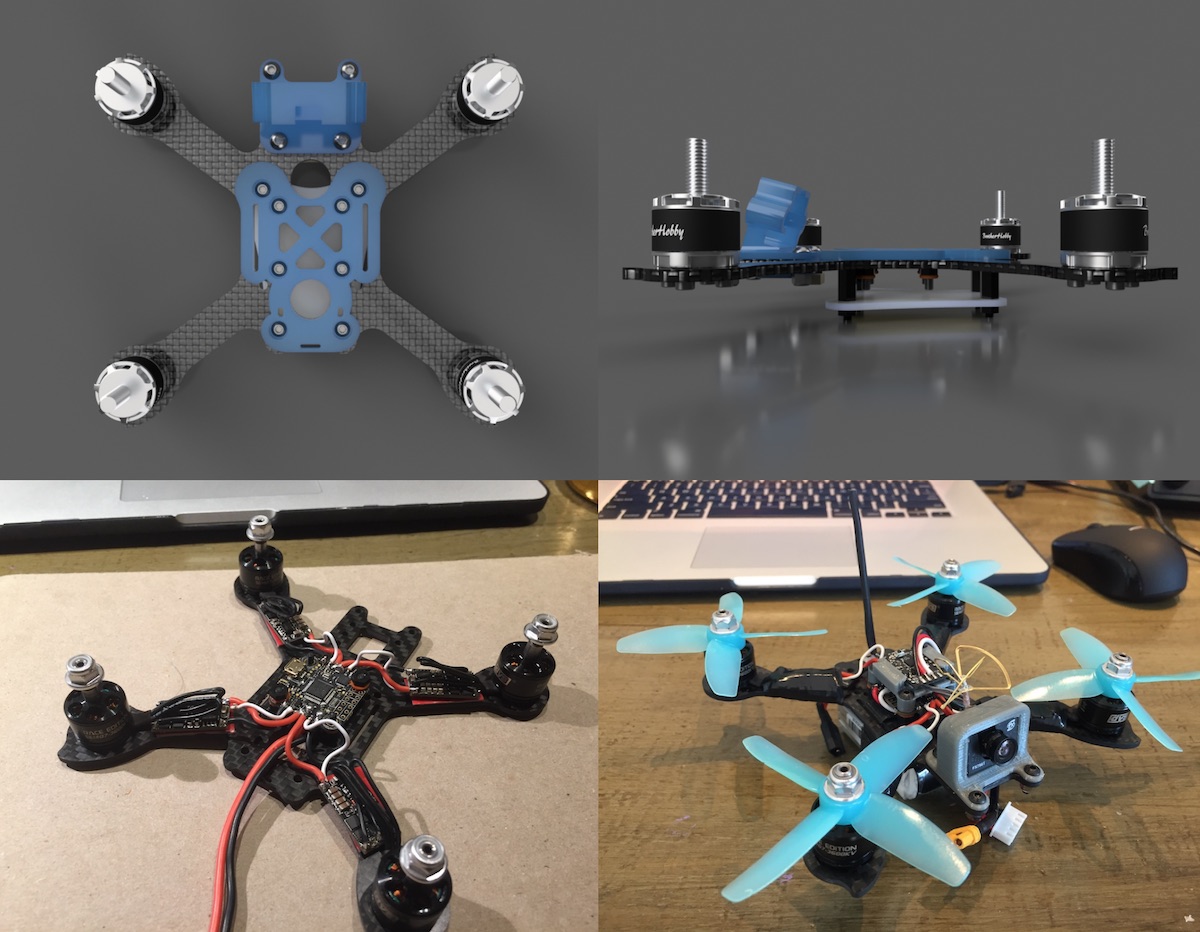
LOS Build
As you might imagine, I’ve got a stock pile of spare parts that frightens most everybody that walks into my apartment. I put some of those spares to good use and built up a line of sight quad (no FPV) for practicing some LOS handling. I figure it’s better to have a flying robot than parts for a flying robot. The vehicle is extremely light, built from the HMB-X5 high density rubber frame. I designed the open “pod” and printed it from TPU for protection.