Custom RC Transmitter
Part of my final project for Design Innovation 22, an Arduino driven RC Transmitter.
Design Innovation 22
I took Design Innovation 22 in the Fall of my sophomore year. I thoroughly enjoyed it and gained a lot of exposure to modern CNC fabrication methodologies. Design and analysis is much more rewarding when you actually build the thing you designed and analyzed. For my final project in the class, my lab partner Kireet and I built a custom quadcopter frame and our own RC transmitter to control it. The STM F3-based flight controller on board the quadcopter is running an opensource firmware called Betaflight. The receiver and transmitter are implemented with Arduino microcontrollers and 2.4Ghz RF modules.
Course Description
This course teaches concepts, skills and methods required to design, prototype, and fabricate physical objects. Each week relevant techniques in 2D and 3D modeling and fabrication are presented along with basic electronics and circuit design. Projects are assigned that cover the weekly course material. Topics include a range of prototyping and fabrication techniques including lasercutting, 3D modeling and 3D printing, soldering, basic circuits, microcontrollers, sensors and actuators, and interface mockups.
- jacobsinstitute.berkeley.edu
Project Description
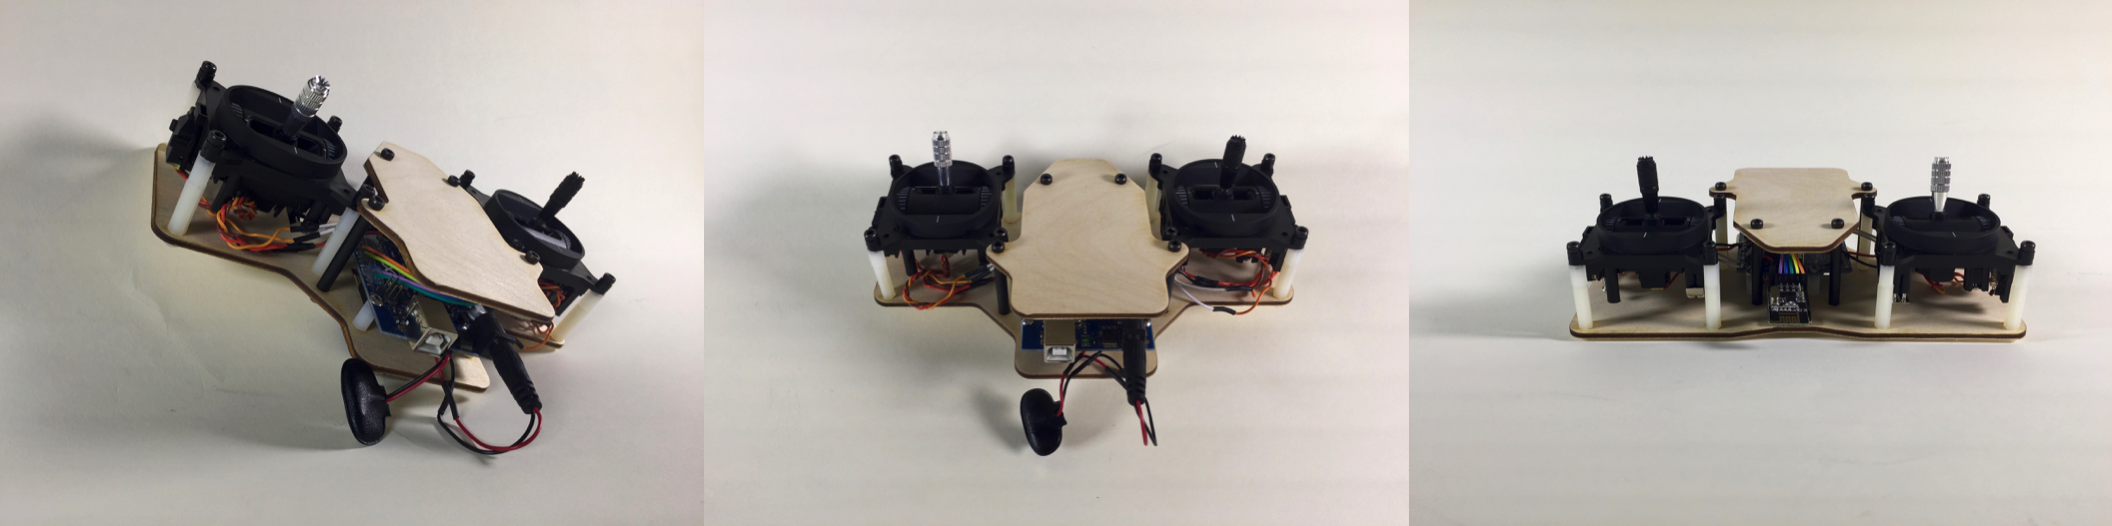
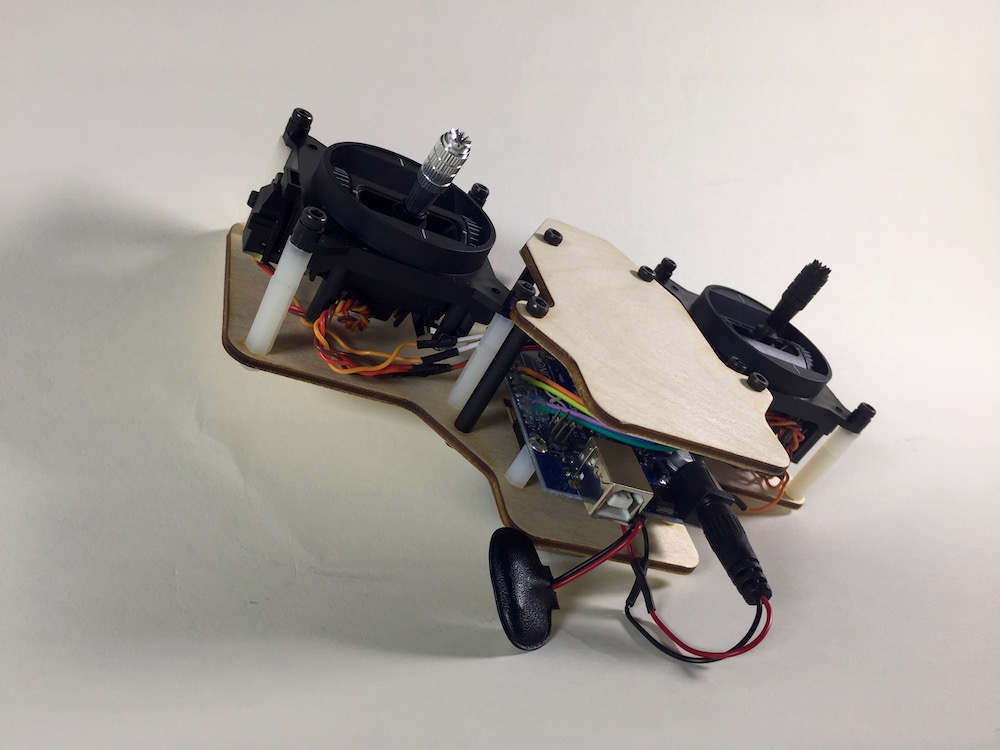
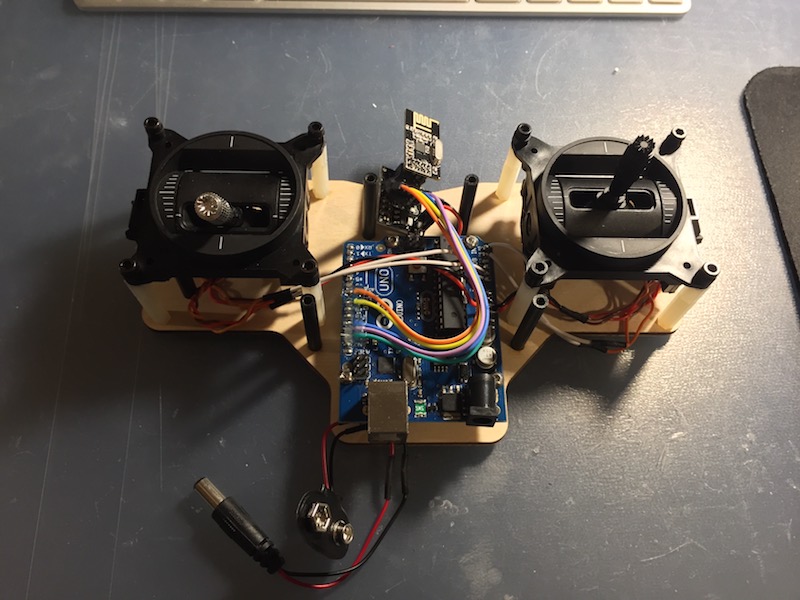
A quadcopter along with a remote control, using two gimbal joysticks, two transceiver modules, an Arduino Uno, and an Arduino Nano. The radio control was implemented in house, we receive 2-axis potentiometer values from the gimbals, transmit them, map them to PWM microsecond values, and generate a PPM signal to send to the flight controller. Both the remote control and the quad include laser cut plates separated by aluminum stand offs and 3D printed component mounting pieces. The quadcopter also features a small first-person view camera that transmits a live analog video feed to a monitor allowing the quad to be piloted without line of sight. Here’s the GitHub repo for the project, and here is the original DevPost for the project.
Development Lifecycle
Week 1
A low fidelity 3D printed chassis with motors properly representing the size and weight of the first draft of our quadcopter including the component mounting for the flight stack.
Week 2
First working model of the quadcopter utilizing 2.5” props and two laser cut plates that surround the props to allow for safer indoor flight. This version utilized a proprietary transmitter and receiver (as well as RF protocol) for control.
Week 3
Many body options were explored this week, we settled on a wrap of kerfed laser cut wood that we brought to medium fidelity. The addition further protected the motors but required iteration in terms of sizing and fit.
Week 4
The first 3D printable design for a custom transmitter was fabricated as well as a high-fidelity version of the wrap using lighter chipboard that fit the frame properly and was painted red for a finished look. We ended up abandoning the wrap idea when we heavily modified the frame for the final version of our quadcopter for the sake of performance improvements.
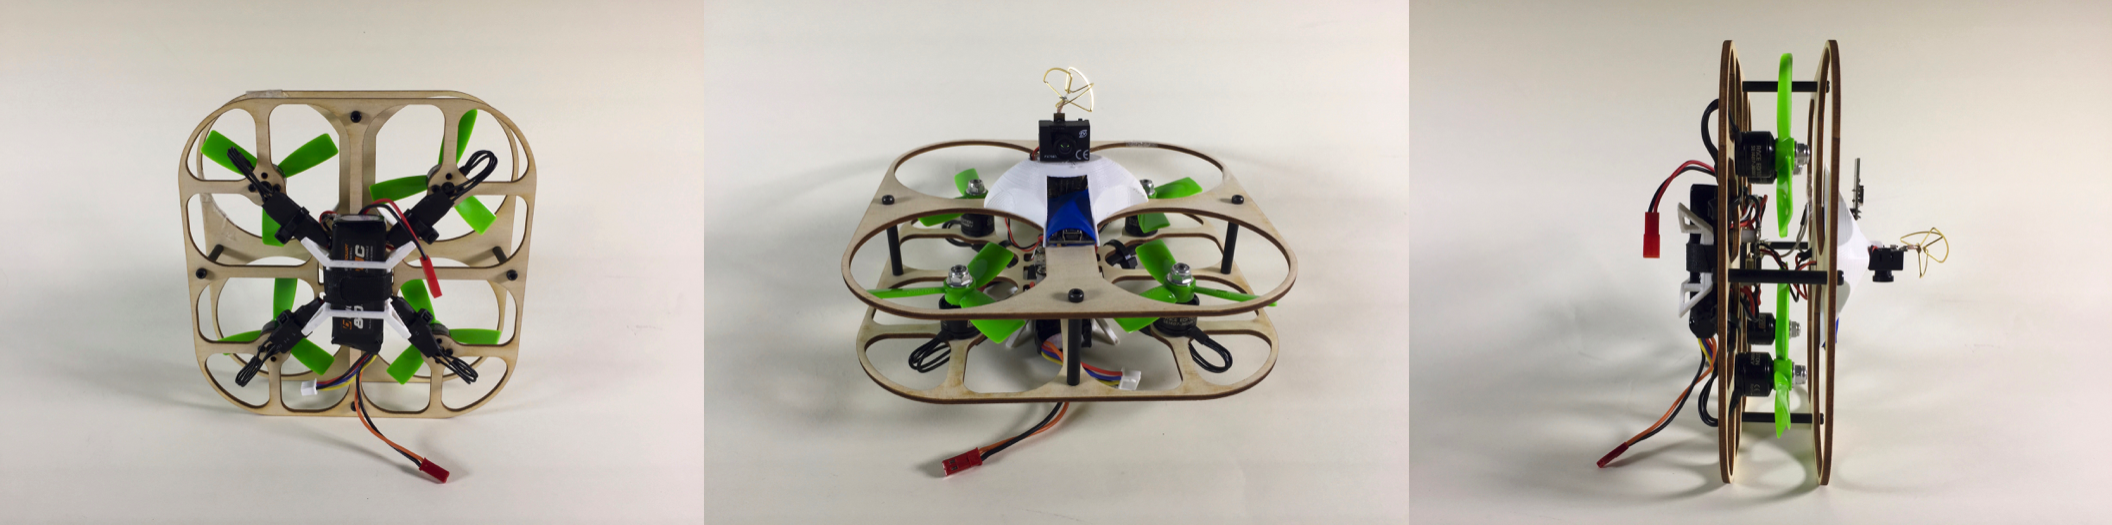
Week 5
Nearly all the components were included in a CAD model for the final quadcopter and transmitter. The quad received a chassis redesign which is larger allowing for brushless motors with a larger stator to be mounted so that we can swing larger props and thus achieve more thrust, as our intial set up was plagued with weight issues. The new frame design also considered wire routing, and component mounting with more fidelity. The landing gear which straps to the battery was designed and 3D printed on this iteration as well as the “hood” piece which serves as our body, it houses the Arduino Nano, an nRF24 transceiver module, and the FPV camera is perched on top. The transmitter was redesigned to be either more 3D printable or laser cut. We ended up laser cutting the final iteration without losing much of the ergonomics of the device. We also had to design around large gimbal joysticks which are mounted with stand offs on the flanges of the transmitter which gave great control resolution and linearity as compared to previous designs which utilized cheaper game controller type joysticks.
Bill of Materials
| Item | Description |
|---|---|
| LiPo battery | 3S 800mAh pack for power with JST connector |
| Brushless motors | 3600KV DYS 1407 stator size motors |
| Piko BLX Flight Controller | STM F3 microcontroller based flight controller |
| ESCs | LittleBee Pro 20A opto speed controllers for brushless motors |
| Arduino Uno | Micro controller utilized on the controller (runs transmit.ino) |
| Arduino Nano | Micro controller utilized on the quad (runs receive.ino) |
| nRf24L01 Transeivers | Transceiver modules utilized in our custom transmitter and receiver set |